Skill Level:
Crafting Time:
Technique(s):
Material(s):
Category:
Tag(s):
Share This Craft
Search Crafts
Monogrammed Wine Glasses
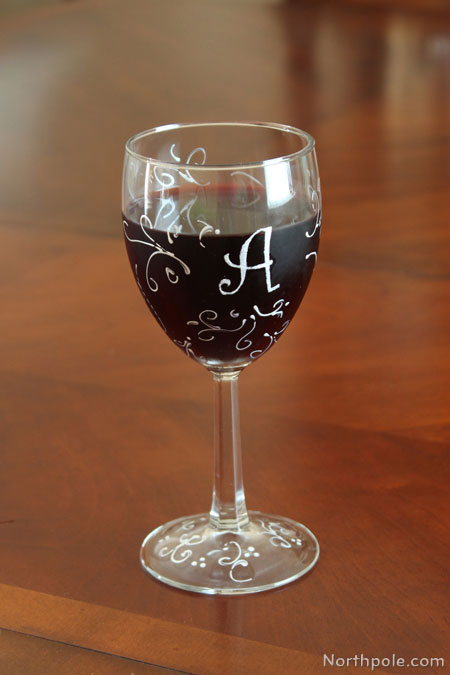
Let’s get crafty by making monogrammed glassware! You can use a stencil to paint the letter on the glass or you could freehand it, if you are so inclined. Don’t want to buy stencils? Make your own by printing text on paper and cutting it out with an X-Acto. Have fun designing and painting custom glassware for yourself or to give as a gift. For more painting ideas, check out these Wintery Candle Holders.
Supplies & Tools:
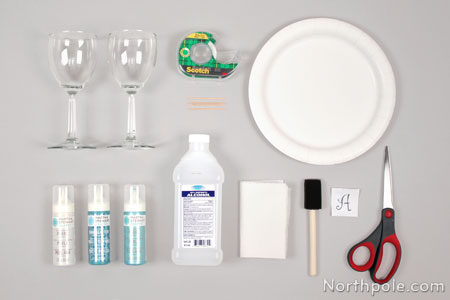
- Wine glasses
- Rubbing alcohol
- Martha Stewart Pearl Glass Paint – any color (We used Mother of Pearl)
- Foam brush
- Toothpick
- Stencil (click here for DIY Stencils)
- Tape
- Scissors
- Paper plate
- Paper towels or cotton balls
Directions:
- Wash and dry the wine glass.
- Wet paper towel with a bit of rubbing alcohol and rub the exterior of the wine glass. (A cotton ball would work, too.)
Note: The alcohol gets the glass really clean, which helps the paint adhere to the glass. - While the glass is drying, cut out stencil. If you bought a package of stencils, just cut out the letter you wish to use. If you are making your own stencil, see the DIY Stencil instructions below.
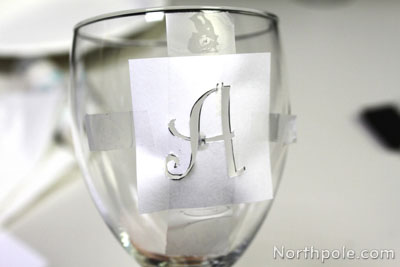
- Use tape to stick the stencil to the glass.
- Squeeze a pea-sized amount of paint onto paper plate.
- Wet the tip of the foam brush with paint. It doesn’t need to be saturated, which could lead to the paint bleeding outside the lines of the stencil. Instead, dab the foam brush until it is lightly coated with paint.
- Now, carefully apply paint in and up and down motion. It is important NOT to drag the brush otherwise you’ll get paint smudged under the stencil. It’s better to apply paint in a few light coats rather than slathering the stencil with paint just once.
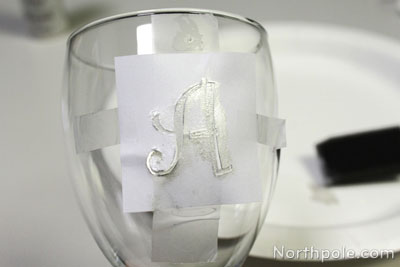
- Carefully peel off the stencil.
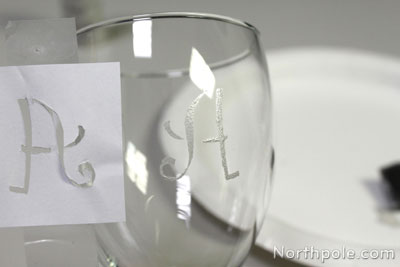
- In the above picture, see how there’s gaps in the lines of the “A”? Used the tip of your brush to fill in the spaces with paint. Allow to dry.
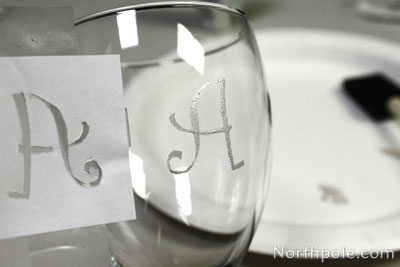
- Apply a second or third coat, if necessary.
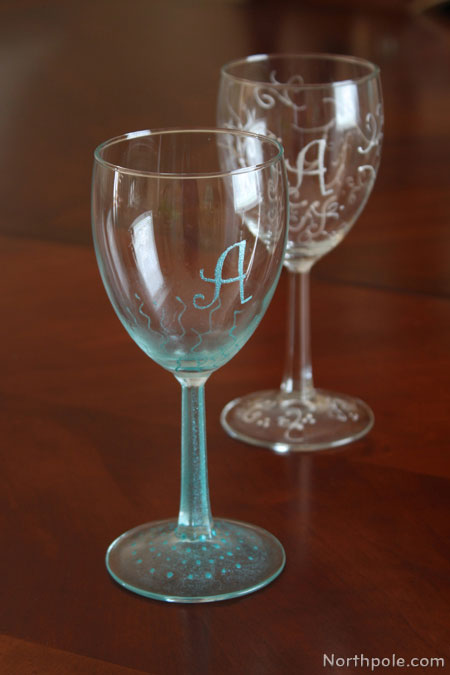
- Add any other designs that you would like.
- Follow the manufacturer’s instruction on cure time. This paint by Martha Stewart can be baked in the oven for a really short cure time.
DIY Stencil
Don’t want to cough up the green to buy a package of stencils? Create your own stencils in the font of your choice—and in any size you wish.
You’ll need:
- Cutting mat
- X-Acto
- Tape
- Letter(s), printed on paper
Directions:
- On your computer, choose a font and size for your letter. We wanted our letter to be around 1" in height, so we set the font to 72pt. Choose what size will work best for your glassware.
- Print it out on regular ol’ paper.
- Cut a box around the letter. Be sure to leave some space around the letter.
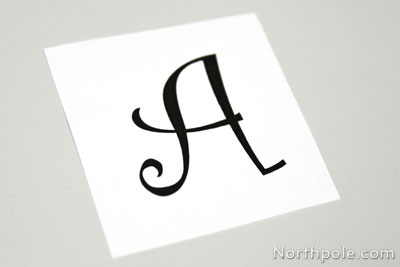
- Draw "bridges," if needed. Letters like A, B, D, O, P, Q, and R will need “bridges” to connect the space within the letter to the space outside the letter. Otherwise, for example, your O would end up being a solid oval. (Not using these letters? Skip to step 6.)
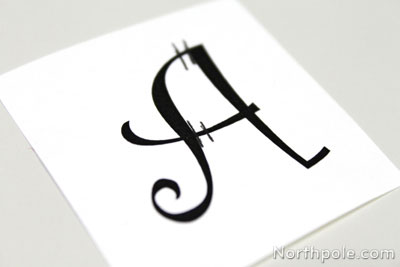
- We applied a tiny bit of white paint in the space of the bridge to make it a little more obvious where the cut lines are.
- Get a piece of tape (approx. 3" long) and place it over the letter, vertically. (This will help stabilize the stencil.)
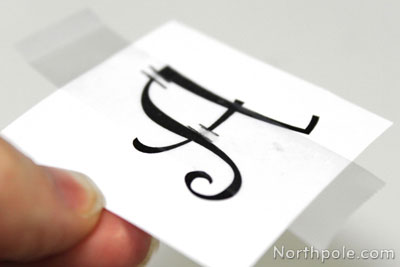
- Now adhere to cutting mat and use X-Acto to carefully cut out the black letter.
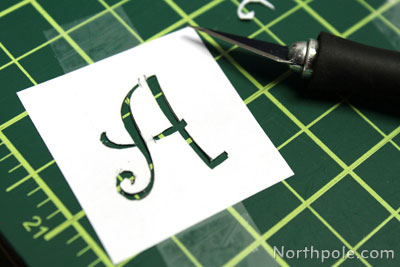
- Now your stencil is ready to use!
Idea from the Elves:
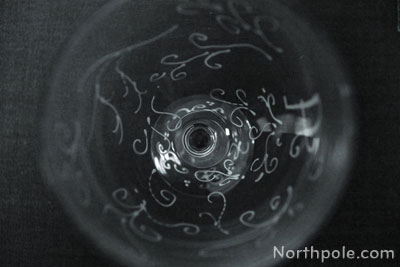
- Draw any free form design. Check out these swirls and vine-looking designs.
