Skill Level:
Crafting Time:
Technique(s):
Material(s):
Category:
Tag(s):
Fun to Make with Kids
Nifty & Thrifty
Share This Craft
Search Crafts
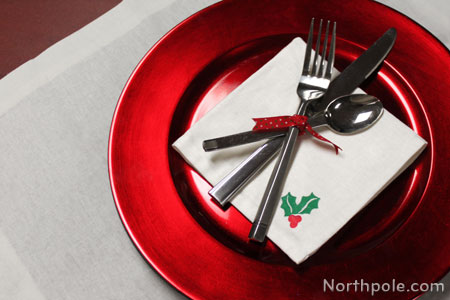
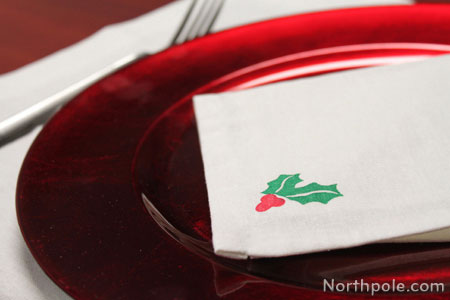
Stamped Holiday Napkins

There are so many ways to decorate and personalize napkins: iron on a handmade appliqué, embroider, cross-stitch, stamp, or stencil. Stamping and stenciling are great because they’re simple and fast ways to personalize objects. Try stamping or stenciling cards, coasters, table linens, table runners, shirts, or anything you like. Personalized napkins are a great gift idea!
When working with stencils, it’s best to use a stencil brush since you need to apply paint using the stippling technique, plus you can create texture or a gradient within the design. When using a foam brush with stencils, you will get flat, solid coverage. With foam stamps, a foam brush or paintbrush is sufficient.
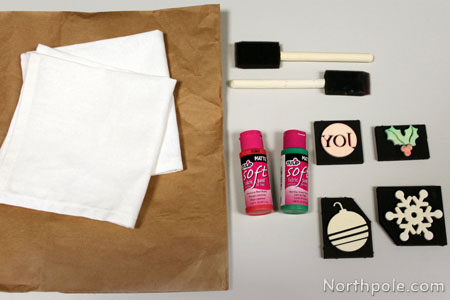
Supplies & Tools:

- Foam stamps
- Stencils*
- Fabric paint, any color(s)
- Foam brush
- Stencil brush
- Paper plate
- Kraft paper or newspaper
- Cloth napkins
- Artist tape
Directions:
- Lay kraft or newspaper on flat surface.
- Lay napkin on kraft paper.
- Decide where you want your stamp or stencil design to be.
If Using Stamps:
- Read directions on paint bottle.
- Apply a thin layer of paint to stamp using a foam brush.
- Press stamp, paint side down onto the napkin. Be careful not to wiggle the stamp; you don’t want the design to get muddled.
- Pick up stamp and reapply paint and stamp remaining napkins.
- Let dry completely.
If Using Stencils:
- Lay stencil on napkin. Use artist tape to hold in place.
- Whether using a stencil brush or a foam brush, apply a small amount of paint onto the paper plate, and wet the brush. Next, apply paint by using a stippling motion. Move brush up and down to apply paint. Do NOT drag (sweeping motion) the brush along the fabric/stencil, because you will push paint under the stencil and blur the design.
- Pick up stencil, clean back of stencil with paper towel, if necessary.
- Repeat for each napkin.
*Stencils: You can make your own stencils by cutting out an image with an X-Acto. Print the image or shape(s) that you want. (Cardstock or transparency film is best, since regular paper will tear easily when wet with paint.) Lay the cardstock on a cutting mat. Use X-Acto to cut out the inside of shape. Now your stencil is ready to use.


