Skill Level:
Crafting Time:
Technique(s):
Material(s):
Category:
Share This Craft
Search Crafts
Evergreen Accent Pillow

We’re loopy for Christmas! This ornamental pillow flaunts a Christmas tree comprised of felt loops, plus Christmas lights that are festive little buttons hand sewn with care.
One important thing to note about this craft is that if you are using stretchy fabric, then you will need to make your pillow cover slightly smaller than the size of the pillow. Our pillow is a 14" square, and our stretchy pillow cover is a 13" square.
Supplies & Tools:
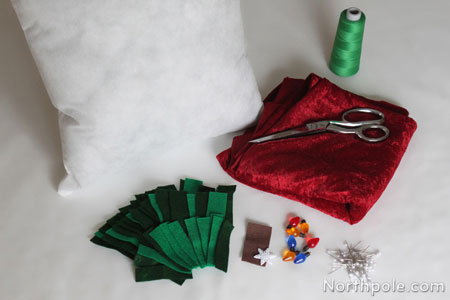
- Felt: dark green, green, brown, cut into strips (see directions below)
- Scissors
- Ruler
- Sewing machine
- Thread: green, brown
- 14" x 14" pillow
- 1/2 yard fabric*
- Pins
- Decorative buttons
- Tailor’s chalk
*You need a 16" x 48" piece of fabric. Many types of fabric are at least 48" wide, but if yours is shorter, you will need 1.5 yards.
Directions:
- Wash and dry fabric. Most types of fabric shrink in the wash, so it is important to do this first before you cut the fabric and sew your project.
- Iron the fabric to get out any wrinkles.
- Cut the green and dark green felt into strips. Most of our strips are 1" x 3", but some are 0.75" x 3". We used a total of 44 strips.
- Cut a piece of brown felt that is 1.25" x 2.5".
- Set all the felt strips aside.
- Lay fabric on a flat surface and measure and cut a piece of fabric that is 16" x 48". We want the fabric to be about 3x the length of the pillow. (See how the fabric doesn’t quite wrap all the way around the pillow three times?)

- Wrap the fabric around the pillow (similar to the above picture). We are going to mark the boundaries of the front face of the pillow so that we know where to position the tree.
- Use pins to mark the edges. Pinch the fabric along the edge of the pillow and pin the fabric. Make sure that the pillow is NOT pinned to the fabric.
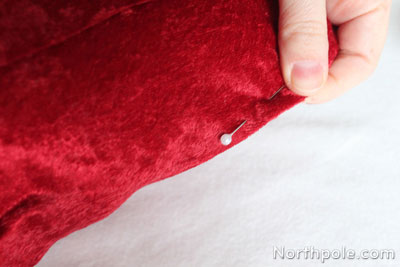
- We used 3 pins to mark each edge.
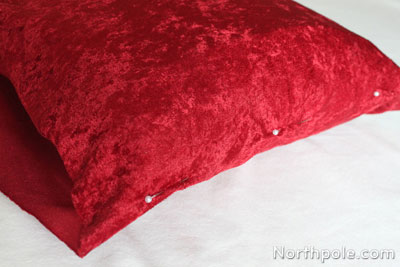
- Remove the fabric from the pillow and lay fabric on a flat surface, right side up.
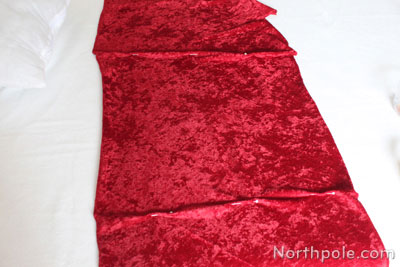
- Fold each piece of felt in half and arrange the pieces in the center area of the fabric. We did this so we could get an idea about where to sew the tree on the fabric.
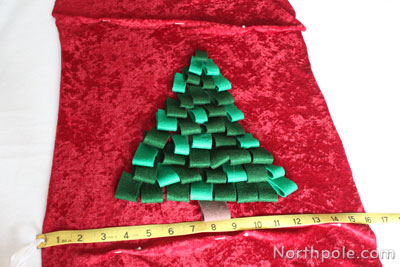
- After all that work to get the tree just right, we didn’t want to dissemble the whole thing, so we used a couple pieces of paper (stacked together) and slid it under the tree. Then we placed the paper—with the tree intact—beside the sewing machine.
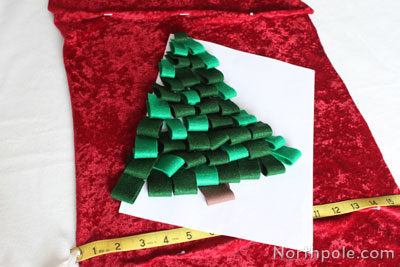
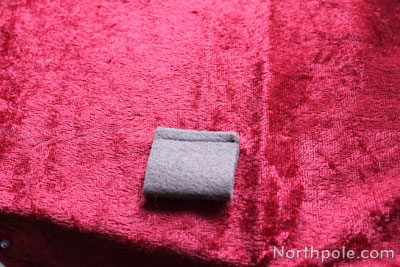
- Sew the tree beginning at the bottom, working upwards. First sew the brown felt loop, which is the trunk.
- Change the thread color to green and then started sewing the green loops. Sew a vertical line on each green loop. We started at the top of each loop, sewing down about 0.5", pushing the reverse button down (on the sewing machine) and backstitching up to the top of the loop.
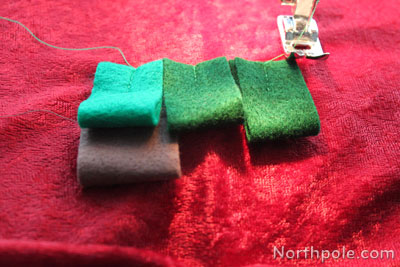
- Keep adding loops. Here’s what it looks like after we added the second row of loops.

- Now, if you start thinking your tree looks a little flat and boring, then overlap the loops a little bit. In the photo below, we left a space between two loops. We are pointing to it with the yellow stick.
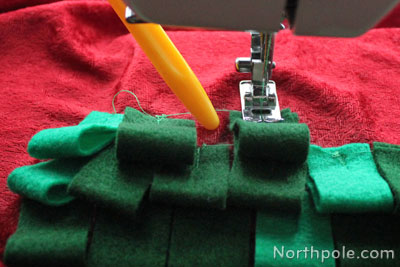
- Take a felt loop and sew it over the space that you just created in the previous step.
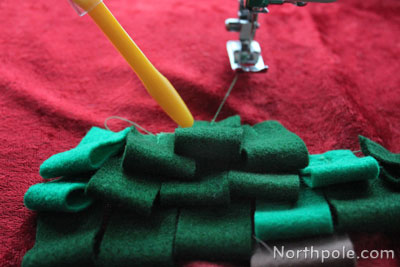
- Keep adding loops to the tree. Here’s what ours looks like after we sewed the 4th row of loops.
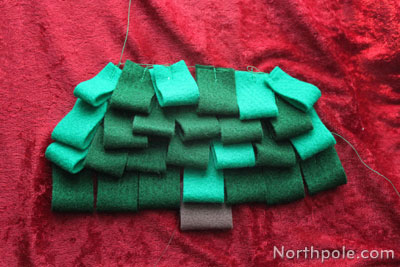
- After the next row:
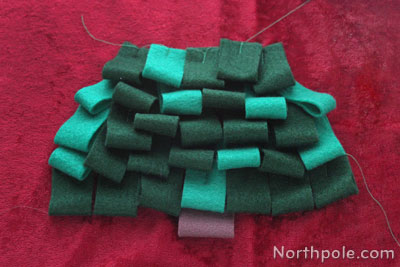
- And the next:
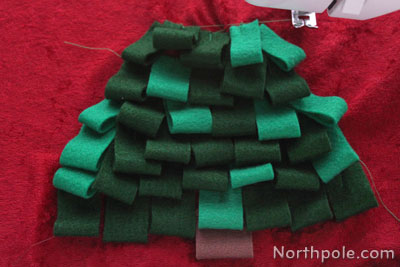
- Here’s a photo of the next two more rows:

- Add the last few pieces to form the top of the tree.
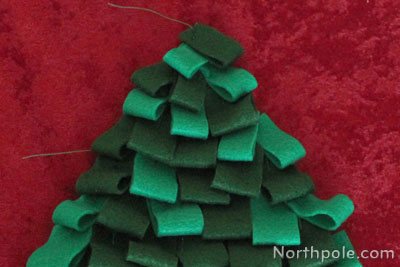
- After you finish sewing the loops, lay the fabric on a table. If your tree is not centered (vertically) between the lines of pins, we will show you how to adjust it shortly.
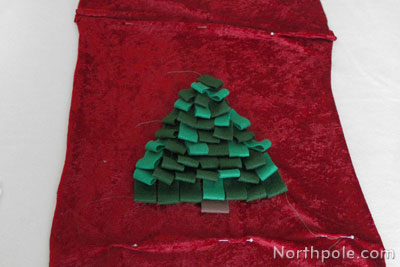
- If you have some pieces of thread on the tree side of the fabric, now is a good time to use a needle to bring them to the reverse side. Tie up any loose ends so that they do not unravel later.
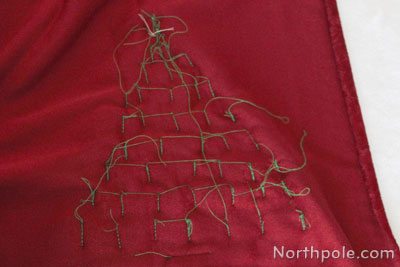
- Turn fabric right side up and sew the decorative buttons on by hand. We used little Christmas light buttons and a snowflake button for the tree topper.
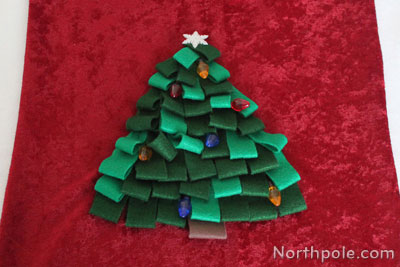
- If your tree wasn't centered vertically in step #23, now we will adjust the placement of the pins to redefine the boundaries of the front of the pillow cover. Place the fabric around the pillow, centering the tree. Pin the fabric to the pillow. We pinned around the tree in 4 places.
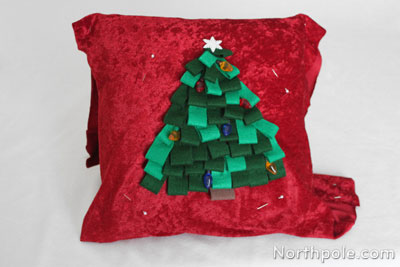
- Now that the tree is secured to the pillow, add pins at the corners. When pinning the fabric at the corners, be sure that you do NOT pin it to the pillow.
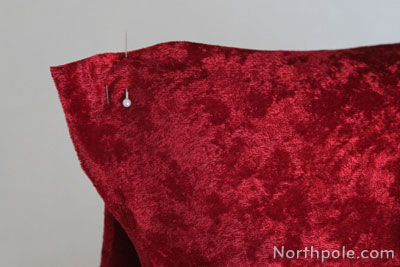
- After you have pinned the corners, remove the 4 pins from the front of the pillow.

- Take the fabric off the pillow and lay it on a flat surface, tree side facing down. Then fold back each short end of the fabric about 2 inches, pinning in place. (This fold is for the hem.)
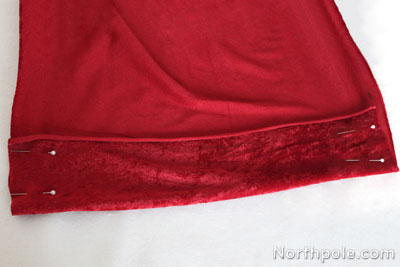
- Carefully move the pins that are marking the corners (refer to step #27) to the other side of the fabric. (In other words, from the side with the tree to the other side of the fabric.)
- Flip the fabric over so that the tree is facing up.
- Using the pins in the corners as a guide, fold the short sides of the fabric over. (The fold lines should line up with the pins.)
- Pin along the raw edges.
- Using tailor’s chalk, draw a line from one corner pin to the other, parallel to the raw edge. Repeat for the other side.
- Sew along these two lines. We used black thread so you see it more clearly in the picture.
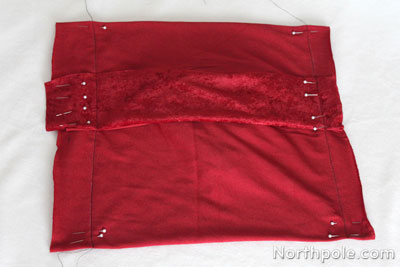
- Remove pins and set aside. Turn the fabric right side out.
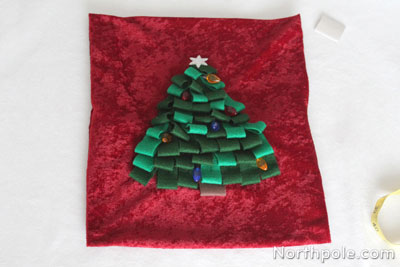
- Put the pillow inside the cover and your decorative pillow is complete! Place it on the sofa, armchair, or wherever you like!

Like the other pillows in the picture? Find out how to make the chevron print pillow by clicking here and here for the green pillow.


