Skill Level:
Crafting Time:
Technique(s):
Category:
Share This Craft
Search Crafts
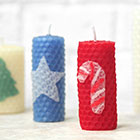
Christmas Tree Beeswax Candles

O darling Tannenbaum… In this craft, we’ll show you how to make two different types of beeswax candles: a solid colored tree and a two-color tree. These lovely little conifers are so cute, you might not want to burn them! If you can’t bring yourself to light your handiwork, you can always wrap them up and give them as gifts.
Supplies & Tools:

- 16.5" x 8" beeswax sheets: green, chartreuse, red, yellow*
- Cotton wick*
- Cutting mat
- Metal ruler
- X-Acto
- Optional: washi tape
- Optional: hair dryer or embossing heat tool
*You can get a beeswax candle kit that includes 10 beeswax sheets and wick here.
Single Color Christmas Tree:
Before you begin, note that a little waxy residue will get left behind on your work surface, so make sure to put down a placemat or other protective barrier. We worked on our cutting mat, then cleaned it once we finished making candles.
- Take one 16.5" x 8" sheet of green beeswax and cut in half lengthwise. Set one rectangle aside and save for another project (or more Christmas tree candles).
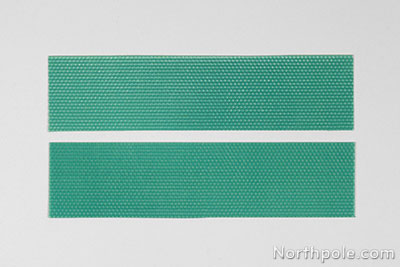
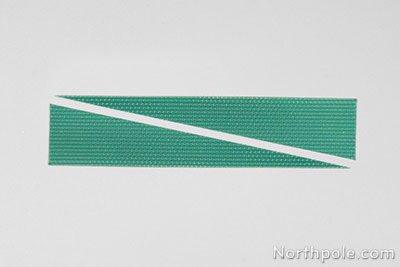
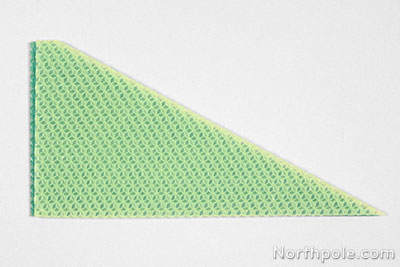
- Cut the 16.5" x 4" rectangle in half diagonally. You’ll use 1 triangle per Christmas tree. Set one triangle aside.
- Cut a piece of wick that is 4.5" long. Wick has a top and a bottom, so make a note of which end is the top by marking it with a piece of washi tape (or simply tie a knot). You want to make sure the wick is oriented correctly before you make your candle.
Note: The wick included in your candle kit should specify which end is the top. - Lay the wick on the short edge of the beeswax. Now pinch the edge of the beeswax around the wick.
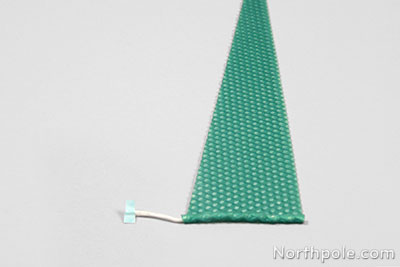
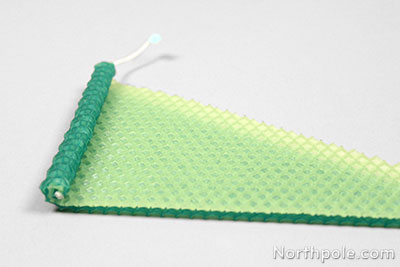
- Roll the candle, making sure the bottom edge stays lined up. This part can be a little tricky, so work slowly.
Note: If the beeswax is brittle, soften it with a hair dryer or embossing heat tool. Once the beeswax warms up a bit, it will be easier to roll.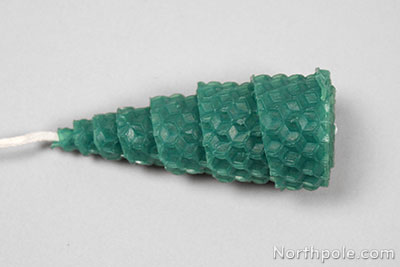
- Repeat steps 3–5 to make additional candle(s).
- Time to decorate your tree! Roll tiny bits of red beeswax between your fingers to form little balls and stick them on the tree for ornaments.
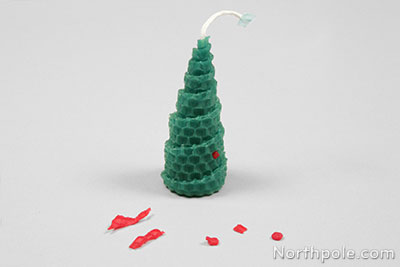
- Now let’s top the tree with a star. Wrap a small bit of yellow wax around the wick at the top of the tree. Then cut a wee star and press it onto the waxed wick.
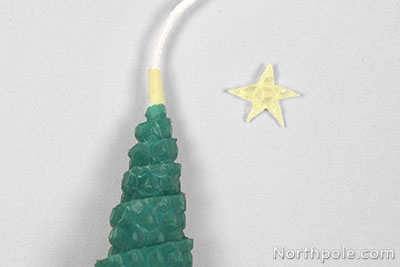
- Trim the wick to 0.25" and your Christmas tree candle is done!

Two-Color Christmas Tree
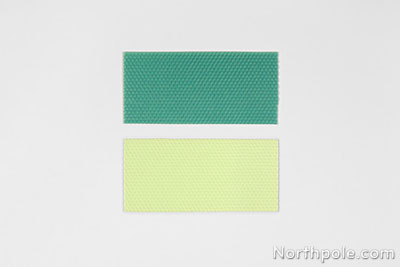
- Cut 8.25" x 4" rectangles from a sheet of green beeswax and a sheet of chartreuse beeswax. (Tip: Cut each sheet into quarters.)
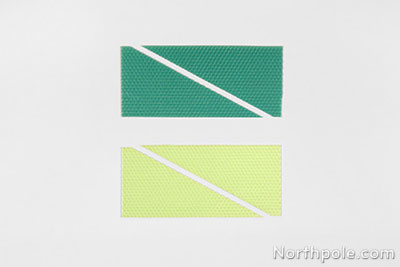
- Cut each rectangle in half diagonally. Instead of cutting corner-to-corner, offset the ruler 0.5" from each corner.
- Take one “triangle” of each color and stack the 2 pieces together. Slide the top piece (chartreuse) over just a smidge, then place the wick on the exposed bit of the bottom piece (green).
- Pinch the green beeswax around the wick, then roll the candle. Make sure the bottom edges stay lined up. As you roll, the two colors will offset on their own.
Note: Work slowly and gently with the wax. If you press too hard, the wax may break and/or your tree will become wonky. It will also be easier to roll the beeswax if you soften it with a hair dryer or embossing heat tool first.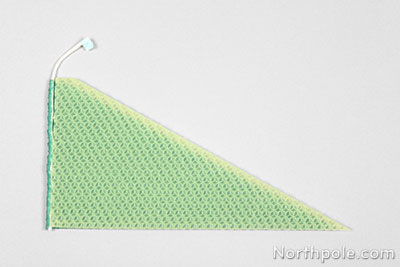
- Repeat steps 3–4 to make a second candle with the other beeswax triangles.
- Optional: Decorate the trees with ornaments and/or a star, like how we decorated the single color tree above.
- Trim the wicks to 0.25" and your two-color Christmas tree candles are done!

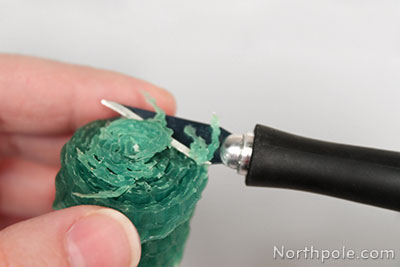
Elfy Hint:
- If your tree is wobbly when it stands, use your X-Acto to shave off wax from the bottom to give the tree a level base.
Now that you’ve made Christmas trees, try these other fun beeswax candles: