Skill Level:
Crafting Time:
Technique(s):
Material(s):
Category:
Share This Craft
Search Crafts
Basic Felt Stocking

Making a handmade Christmas stocking won’t get any easier than this. With felt, scissors, and a sewing machine at hand, you will finish this simple stocking in 10 minutes. After you’ve whipped the stocking together, you can decorate it however you like—just dig into your craft stash! Whip out your pompoms, rhinestones, and rick rack; grab those felt scraps you’ve been saving; bust out your glitter glue or fabric paint; and have fun embellishing your handmade stocking.
Supplies & Tools:

- Printable template (download here)
- 0.5 yard felt
- 5/8" wide ribbon, 10" long
- Scissors
- Pins
- Sharpie
- Tape
- Sewing machine
- Iron
Directions:
- Print the template.
- Cut out the template pieces. To assemble the stocking template, line up the dashed lines, overlapping the shaded tabs, and tape pieces together.
- If needed, press the felt with a cool iron to remove any wrinkles.
- Place the stocking pattern on the felt and use the marker to trace 2 stocking shapes.

- Cut out stocking shapes.
Note: Cut inside the marker line so that you don’t leave any stray marks on the stocking pieces.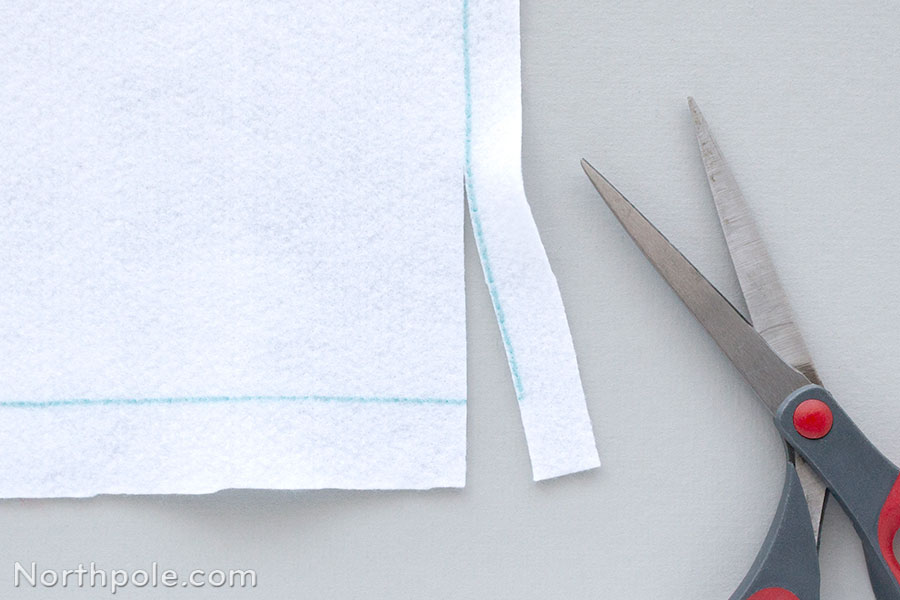
- Lay one stocking piece on your work surface.
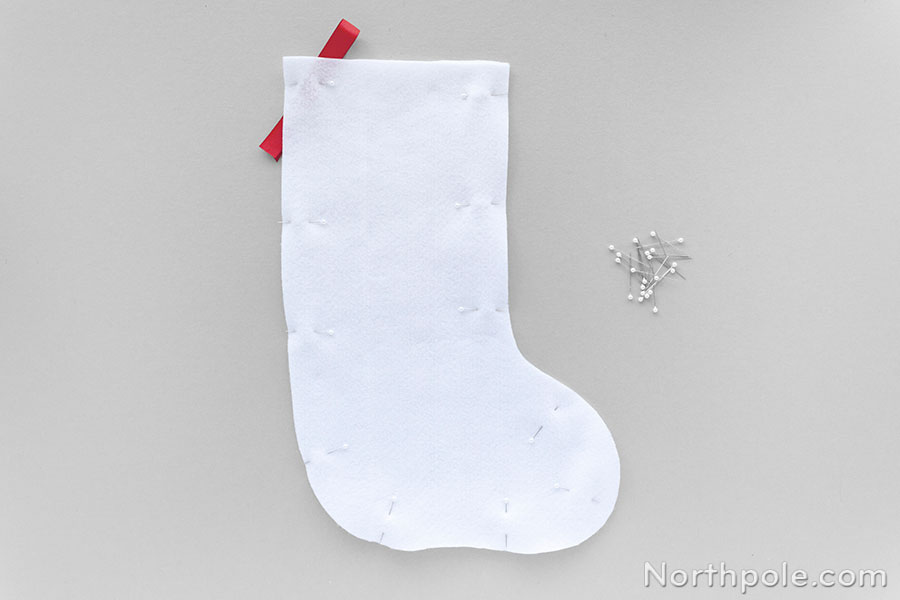
- Fold the ribbon in half and place near the upper left corner of the stocking. The ends of the ribbon should extend past the left side of the stocking while the loop of the ribbon should extend above the top of the stocking.

- Place the other stocking piece on top.
- Pin the pieces together.
- Begin sewing the stocking pieces together with your sewing machine, using a 0.25" seam allowance. Make sure you back tack at the beginning and then continue sewing.
Note: An easy way to get a 0.25" seam allowance is to align the edge of the felt with the presser foot. - Sew around the stocking, removing pins as you go. When you reach the end, back tack to lock the thread.
Note: When you sew over the ribbon, back tack over it and then sew forward again to reinforce the ribbon, as this will make the hanger stronger. - Remove any remaining pins and set aside.
- Gently turn the stocking right side out and press the seam with a cool iron.
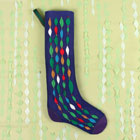
- Now your stocking is ready to embellish with pompoms, felt appliqués, fabric paint, glitter, or whatever you like!


Ready to Start Crafting? Check Out Some Projects That Use This Technique: